
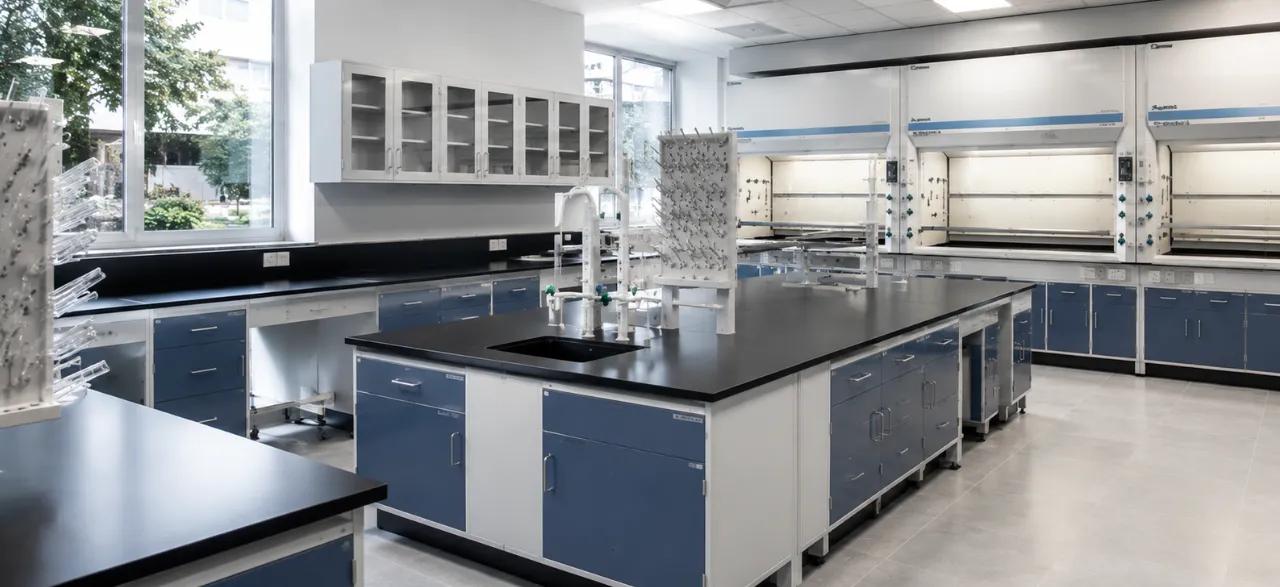
Designing a successful laboratory starts with more than choosing equipment or arranging workstations. A well-designed laboratory should support safe workflows, efficient equipment placement, adequate storage, ventilation, utilities and future expansion. Knowing how to design a successful laboratory helps organisations create a workspace that is practical, flexible and suited to their specific operational needs.
From planning the laboratory layout and fume hood placement to selecting the right laboratory furniture and storage systems, every decision can affect safety, productivity and long-term performance. Whether you are building a new facility or upgrading an existing lab, working with an experienced turnkey laboratory solutions provider in India can help turn your requirements into a functional laboratory.
Planning a new laboratory? Speak with Santech Labs for customised laboratory furniture and turnkey laboratory setup solutions tailored to your space, workflow and equipment requirements.
What Makes a Successful Laboratory Design?
A successful laboratory design combines safety, efficient workflow, suitable laboratory furniture, equipment planning, storage, ventilation, utilities and future flexibility. The layout should make it easy for staff to move between workstations, operate equipment safely, access essential storage and maintain the laboratory efficiently.
When planning how to design a successful laboratory, consider these key areas:
- Laboratory layout: Plan workstations, equipment, walkways and emergency routes around the actual workflow.
- Safety: Provide suitable ventilation, fume hoods, chemical storage and clear emergency access.
- Laboratory furniture: Select durable, ergonomic furniture that suits the laboratory’s processes and equipment.
- Equipment planning: Consider equipment size, weight, service clearance, utility connections and heat output.
- Storage: Plan laboratory cabinets and storage systems according to chemicals, samples, glassware and equipment requirements.
- Utilities and ventilation: Coordinate electrical, plumbing, gas, HVAC, exhaust and other services before installation.
- Future expansion: Use flexible layouts and modular laboratory furniture where possible to accommodate changing requirements.
A well-coordinated design brings these elements together before installation, helping create a laboratory that is safe, efficient, practical and ready for future needs.
How to Design a Successful Laboratory: 8 Key Steps
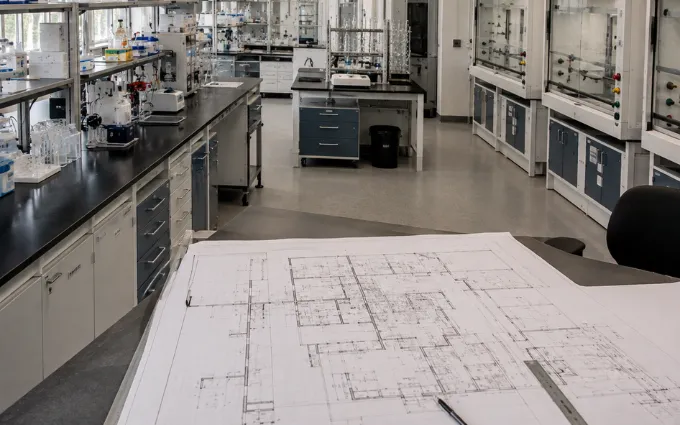
A successful laboratory design should balance safety, workflow, equipment, storage, utilities and future flexibility. Follow these eight steps to create a laboratory that is efficient, practical and suited to your operational requirements.
1. Start With Laboratory Safety and Workflow
Safety should be considered from the beginning of the laboratory design process. A well-planned layout can reduce unnecessary movement, improve accessibility and help minimise potential risks associated with chemicals, equipment, electrical systems and other laboratory activities.
Plan clear walkways, emergency routes and access points around workstations and equipment. The layout should allow staff to move safely without creating unnecessary congestion and should provide convenient access to emergency equipment and exits.
2. Plan Adequate Laboratory Storage
Storage requirements should be identified before finalising the laboratory layout. Depending on the facility, this may include laboratory storage cabinets, chemical storage cabinets, shelving, sample storage and dedicated areas for equipment and consumables.
Chemicals and other materials should be stored according to their properties and applicable safety requirements. Avoid placing chemicals on floors or in circulation areas, and use suitable storage solutions for hazardous materials where required.
Planning storage at the design stage helps maintain an organised laboratory while reducing clutter and improving workflow.
3. Prepare a Detailed Equipment List
Create a complete inventory of the equipment that will be installed or used in the laboratory. Consider each item’s dimensions, weight, power requirements, utility connections, ventilation needs, heat output and required service clearance.
Equipment information directly influences laboratory layout, furniture selection and utility planning. Reviewing these requirements early can help prevent installation problems and costly changes later.
4. Maintain Easy Access and Equipment Movement
A laboratory should provide sufficient space for people and equipment to move safely. Consider walkway widths, door dimensions, turning clearances and access routes when planning the layout.
Equipment movement should also be considered for future installation, maintenance, replacement or relocation. Mapping equipment pathways in advance can make future upgrades significantly easier.
5. Plan Laboratory Fume Hoods Correctly
Fume hood placement should be coordinated with the laboratory layout, HVAC system and mechanical services. The type and number of fume hoods should be determined according to the laboratory’s processes, containment requirements and operational needs.
The location of each laboratory fume hood should also account for airflow, nearby doors, traffic patterns, exhaust requirements and surrounding equipment. Early coordination between laboratory planners, mechanical engineers and other project stakeholders can help support effective containment and ventilation.
6. Account for Equipment Heat Gains
Laboratory equipment can generate considerable heat, particularly instruments such as ultra-low-temperature freezers, refrigerators, centrifuges and other heat-producing equipment.
Identify major heat-generating equipment during the design stage and provide the information to the mechanical or HVAC design team. Where manufacturer data is unavailable, the appropriate heat-load calculations should be considered when determining the laboratory’s cooling requirements.
7. Choose the Right Laboratory Furniture
Laboratory furniture should be selected according to the laboratory’s workflow, equipment, working conditions and long-term requirements. Consider workbenches, laboratory cabinets, storage systems, materials, ergonomics, durability and resistance to chemicals or other substances where applicable.
Modular laboratory furniture can be particularly useful when the laboratory may need to accommodate new equipment, changing workflows or future expansion.
Choosing the right furniture at the design stage also helps ensure that workstations, equipment and storage are properly integrated into the overall laboratory layout.
8. Involve All Stakeholders Early
Successful laboratory design requires input from the people who will use, manage, maintain and support the facility. Laboratory staff, facility managers, safety teams, architects, mechanical engineers, equipment suppliers and contractors may all have important requirements.
Bringing these stakeholders into the planning process early can help identify potential issues before construction or installation begins. Review the proposed layout, equipment placement, furniture, storage, utilities, ventilation and future expansion requirements before finalising the design.
Early coordination creates a stronger foundation for a laboratory that performs effectively throughout its operational life.
Essential Laboratory Design Considerations
| Laboratory Design Factor | What to Consider | Why It Matters |
|---|---|---|
| Laboratory Layout | Workstations, equipment placement, walkways, emergency exits and workflow | Improves movement, safety and operational efficiency |
| Laboratory Furniture | Workbenches, cabinets, storage units, ergonomic workspaces and durable materials | Provides a practical and long-lasting working environment |
| Lab Storage Cabinets | Chemical storage, laboratory storage cabinets, shelving and secure storage | Keeps materials organised while improving safety and space utilisation |
| Laboratory Equipment | Equipment dimensions, weight, power, heat output, utilities and service access | Helps prevent layout problems and supports efficient equipment operation |
| Laboratory Fume Hood | Fume hood type, location, exhaust, HVAC, airflow and required controls | Supports safe handling of hazardous fumes and effective containment |
| Electrical & Plumbing | Power outlets, water supply, drainage, gases and other utility connections | Ensures essential services are available where required |
| Ventilation & HVAC | Air changes, temperature control, pressure relationships and exhaust requirements | Helps maintain a suitable and safe laboratory environment |
| Safety & Accessibility | Clear aisles, emergency routes, access points and safety equipment | Supports safe movement and emergency response |
| Future Expansion | Modular furniture, flexible layouts, additional equipment and storage capacity | Allows the laboratory to adapt without extensive renovation |
| Stakeholder Requirements | Input from researchers, laboratory managers, safety teams, engineers and facility managers | Ensures the final design meets operational and technical requirements |
Laboratory Design Process: From Planning to Installation
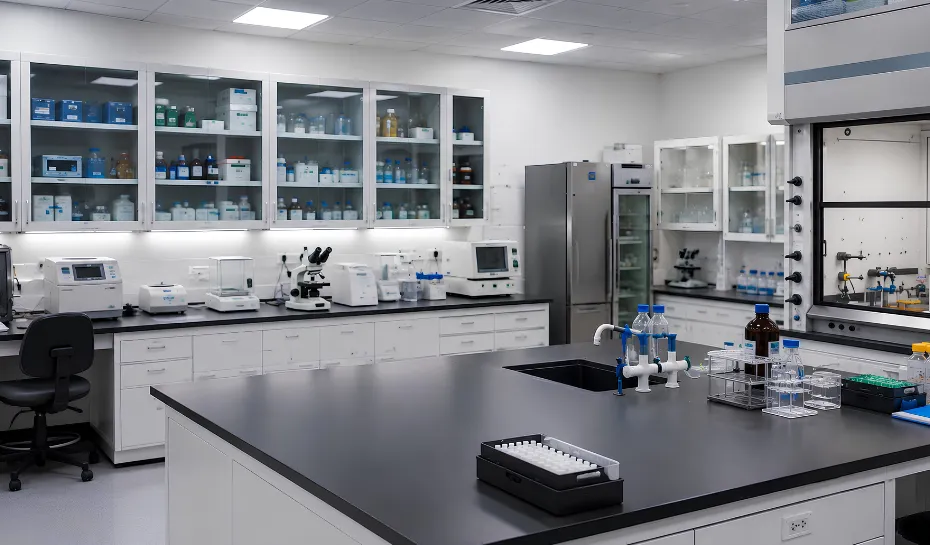
A successful laboratory design follows a structured process that connects the facility’s requirements with its layout, equipment, laboratory furniture, storage, utilities and safety systems. For specialised facilities, medical research laboratory design also requires careful consideration of workflow, equipment, safety and space planning. Planning these elements together before installation can reduce design changes, improve workflow and support long-term laboratory performance.
1. Define the Laboratory Requirements
Start by identifying the laboratory’s purpose, activities, users, equipment and operational requirements. Consider the type of work being performed and any specific requirements for safety, storage, cleanliness, ventilation or environmental control.
2. Assess the Available Space
Review the room dimensions, entrances, existing services, structural limitations and available circulation areas. This assessment provides the foundation for developing a practical laboratory layout.
3. Map the Laboratory Workflow
Plan how staff, samples, materials and equipment will move through the laboratory. Position related activities close together while maintaining clear circulation and appropriate separation where required.
4. Plan Equipment, Furniture and Storage
Prepare the equipment list and consider dimensions, weight, utilities, heat output and maintenance clearance. Use this information to determine the positioning of laboratory workbenches, cabinets, storage systems and specialised furniture.
5. Coordinate Utilities and Ventilation
Plan electrical connections, water, drainage, gases, data points, HVAC, ventilation and exhaust requirements before finalising the layout. Fume hoods and other ventilation-dependent equipment should be coordinated with the mechanical design.
6. Review Safety and Accessibility
Check emergency exits, circulation routes, equipment access, chemical storage, fume hood locations and other safety requirements. Make sure the laboratory remains accessible for daily operations, maintenance and future equipment movement.
7. Review the Design With Stakeholders
Share the proposed layout with laboratory users, facility managers, safety teams, architects, engineers, equipment suppliers and contractors where relevant. Their input can help identify practical issues before manufacturing or installation begins.
8. Finalise and Install
Once the layout and specifications have been reviewed and approved, finalise the laboratory furniture, storage systems, equipment positions and utility requirements. Coordinating manufacturing and installation with the approved design helps ensure that the completed laboratory matches the intended workflow and operational requirements.
How Laboratory Furniture Supports Better Laboratory Design
Laboratory furniture is an important part of the overall laboratory design because workbenches, cabinets, storage systems and specialised workstations must work together with the equipment and workflow. Choosing the right furniture during the planning stage can improve space utilisation, ergonomics, durability and day-to-day efficiency.
| Laboratory Furniture Factor | What to Consider | How It Supports Better Design |
|---|---|---|
| Workflow | Workbench and storage placement based on laboratory activities | Improves movement and reduces unnecessary travel |
| Durability | Materials, construction quality and resistance to daily use | Supports long-term laboratory performance |
| Equipment Integration | Equipment dimensions, weight, utilities and service clearance | Ensures equipment fits safely and remains accessible |
| Storage | Cabinets, shelving and specialised storage requirements | Keeps chemicals, samples and supplies organised |
| Ergonomics | Workbench height, user comfort and workstation configuration | Supports comfortable and efficient working |
| Flexibility | Modular workstations and reconfigurable furniture | Makes future layout changes easier |
| Maintenance | Easy-to-clean surfaces and accessible components | Simplifies routine cleaning and maintenance |
| Customisation | Furniture designed around space, workflow and equipment | Creates a laboratory layout suited to specific requirements |
Conclusion
Knowing how to design a successful laboratory requires careful planning of safety, workflow, equipment, storage, ventilation, utilities and laboratory furniture. A well-coordinated laboratory design brings these elements together to create a workspace that is safe, efficient, practical and adaptable to future requirements.
From initial space assessment and equipment planning to furniture selection and final installation, every stage can influence long-term laboratory performance. Choosing suitable laboratory furniture and working with an experienced laboratory solutions provider can help ensure the layout meets your operational and workflow requirements.
Planning a new laboratory or upgrading an existing facility? Santech Labs provides customised laboratory furniture and turnkey laboratory solutions designed around your space, workflow and equipment requirements. As an experienced lab furniture manufacturer, Santech Labs can support your project from planning through installation.