
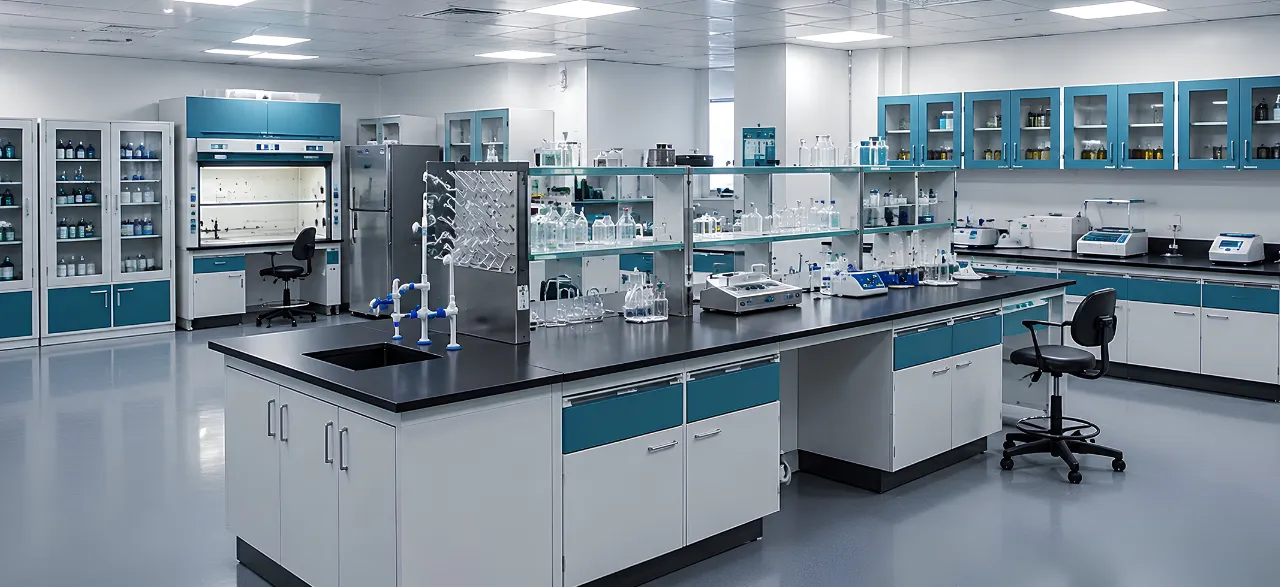
Medical research laboratory design should be planned around the research activities, safety requirements, workflow, and equipment the laboratory will support. A well-designed laboratory design considers space planning, specimen handling, contamination control, ventilation, utilities, specialised equipment, storage, and laboratory furniture. Each area should have a defined function and support the safe and efficient movement of researchers, samples, supplies, and waste.
Choosing the right laboratory furniture is also an important part of the planning process. Experienced laboratory furniture suppliers can help select workstations, storage systems, benches, cabinets, and other solutions based on the laboratory’s workflow, equipment requirements, safety needs, and available space.
This guide explains the key steps involved in planning an efficient, safe, and functional medical research laboratory, from initial space planning and workflow design to equipment integration, storage, utilities, and final commissioning.
Medical research laboratory design should be planned around the research activities, safety requirements, workflow, and equipment the laboratory will support. A well-designed medical laboratory considers space planning, specimen handling, contamination control, ventilation, utilities, specialised equipment, storage, and laboratory furniture. Each area should have a defined function and support the safe and efficient movement of researchers, samples, supplies, and waste. This guide explains the key steps involved in planning an efficient, safe, and functional medical research laboratory.
Medical Lab Design at a Glance
| Stage | Main Decision |
|---|---|
| Research brief | What work, samples, chemicals, and equipment will the laboratory handle? |
| Risk review | Which hazards need containment or restricted access? |
| Workflow | How will people, samples, clean materials, and waste move? |
| Room planning | Which activities need separation? |
| Equipment planning | What loads, utilities, and clearances are required? |
| Furniture selection | Which benches, worktops, and cabinets suit the process? |
| Commissioning | Has the completed facility been tested before use? |
This order prevents a common mistake in medical laboratory design: selecting furniture first and fitting the research around it later.
1. Identify the Research First Then Plan the Layout
For molecular biology medical lab design, there could be a need for separation among reagent preparation, amplification, and analysis. For cell culture research, there would be a need for controlled access and proper positioning of biological safety cabinets. Histology requires staining, solvents, tissue processing, and microscopical analysis.
Document the type of sample, biological agents, chemicals, number of people working in the lab, equipment, storage requirements, and procedures which may generate aerosols or vapours.
Modern guidance on biosafety utilises a risk-based methodology. The controls would depend on the actual biological agent used, procedure, amount, and route of exposure, rather than using a one-size-fits-all approach. For additional guidance on laboratory planning and workflow, see our Education Lab Setup guide.
Solution: Design a One-Page Research Brief
Answer four key questions before asking for any layouts or quotations:
- What comes into the lab?
- What is done to it?
- What hazards are created?
- What goes out of the lab?
This single page is your starting point for zoning, instrumentation, utilities, and furniture.
Research Lab or Diagnostic Lab?
A research lab may conduct studies on cells, tissues, microorganisms, biomarkers, or pharmacological responses. A diagnostic lab generates results that will have clinical implications. Some labs combine both functions, and this should be established from the outset.
NABL accredits clinical labs according to ISO 15189 and biobanks according to ISO 20387.
This has an impact on sampling, reporting, data accessibility, qualification, record keeping, and room isolation.
2. Early Formation of Project Team
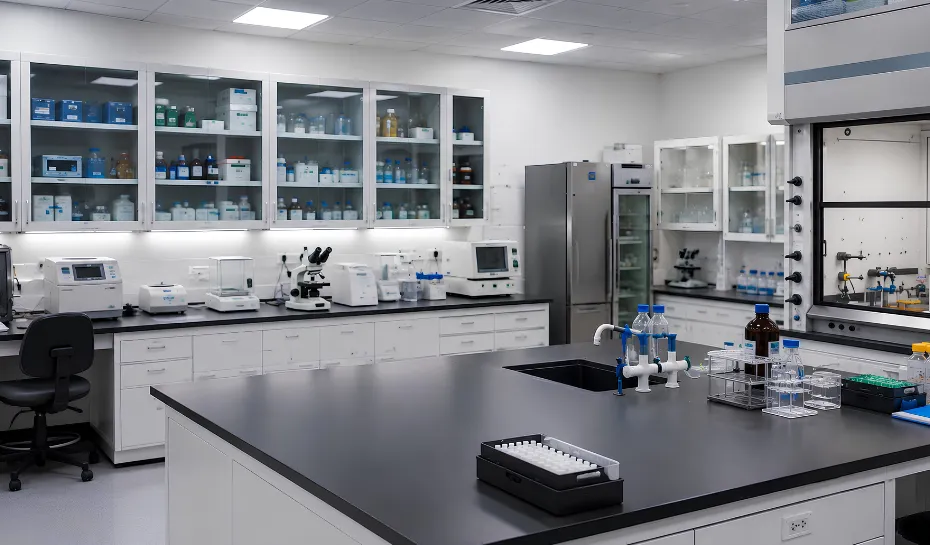
Medical laboratory design requires more than an architect and furniture supplier.
Researchers are familiar with the workflow sequence. Biosafety experts estimate the exposure risk. Engineers take care of the airflow. Specialists in the equipment know the service clearances and heat load. Facility maintenance experts know what panels, filters, valves, and drain openings will be needed for access.
A realistic minimum team would involve end users, laboratory director, biosafety or quality staff, architects, MEP engineers, IT, equipment specialist, facility maintenance, and a lab furniture manufacturer.
Develop a straightforward User Requirement Specification including the following:
- Room and activities
- Number of users
- Equipment and utilities
- Environmental considerations
- Volume of storage
- Cleanliness procedures
- Access limitations
- Room expansion options
The User Requirement Specification prevents constant changes in design when some new ideas arise.
3. Identify Four Separate Flow Lines
Verify the suggested configuration by plotting four flows on it.
Persons: ingress, gowning, limited access, hand washing, and egress.
Samples: reception, record keeping, preparation, analysis, storage, or disposal.
Clean supplies: reagents, consumable supplies, laboratory glassware, and personal protection equipment.
Contaminated materials: separation, sterilisation, temporary holding, and removal.
Sample processing flow line:
Practical Example
A close location of sample reception and waste holding to the same exit point appears to be efficient. However, both flows might run in parallel.
The solution doesn’t have to involve an additional corridor. An alternative exit, timing of processes, transfer through the door, or repositioning of rooms can solve the issue more efficiently.
Guidelines for medical lab design layout recognise the connections between personnel movements, maintenance, decontamination, air supply, and waste management.
4. Create Only the Rooms the Process Needs
More rooms do not automatically make a laboratory safer. Extra partitions increase construction cost, cleaning effort, door traffic, and HVAC complexity.
| Area | Main Purpose |
|---|---|
| Sample receipt | Controlled handover and initial containment |
| Sample preparation | Processing before research or analysis |
| General wet lab | Routine bench-based procedures |
| Cell culture room | Aseptic work and primary containment |
| Instrument room | Stable services and equipment access |
| Cold storage | Monitored refrigerators and freezers |
| Wash or autoclave area | Cleaning and decontamination |
| Chemical storage | Segregated reagent and solvent storage |
| Waste holding | Controlled temporary storage |
| Write-up area | Data work away from wet processes |
Separate activities where contamination risk, access, or environmental conditions require it. Let compatible tasks share space where safe.
5. Match Containment to the Risk
Biosafety levels guide planning in medical lab design, but they are not ready-made room packages.
| Level | Broad Application | Typical Planning Direction |
|---|---|---|
| BSL-1 | Low-risk biological work | Basic controlled practices |
| BSL-2 | Moderate-risk work and many human specimens | Restricted access and primary containment |
| BSL-3 | Serious inhalation risk | Enhanced containment and directional airflow |
| BSL-4 | Very high-risk agents | Specialised maximum-containment facility |
Final controls require a formal risk assessment and applicable approvals.
For Indian BSL-3 facilities, ICMR guidance covers pre-design, construction, engineering controls, commissioning, validation, operation, and maintenance. It also requires critical systems to be tested before work begins. For pharmaceutical and research facilities, Pharmaceutical Lab Design Guidelines provide additional considerations for workflow, contamination control, equipment placement, ventilation, storage, and safety.
Practical Solution: Use a Hazard-to-Control Matrix
| Procedure | Main Hazard | Preferred Control |
|---|---|---|
| Volatile chemical handling | Vapour exposure | Chemical fume hood |
| Aerosol-producing biological work | Biological aerosol | Suitable biological safety cabinet |
| Cryogenic storage | Oxygen displacement | Ventilation and oxygen-risk assessment |
| Precision weighing | Vibration and air movement | Stable instrument station |
This keeps the specification tied to the work rather than copying another laboratory.
6. Plan Ventilation in Accordance With the Equipment List
Ventilation is an essential part of medical laboratory design because it helps contain hazardous substances, control heat, protect equipment, and manage exposure. A Laboratory Fume Hood provides localised containment for procedures involving volatile chemicals and vapours, helping reduce the risk of exposure within the laboratory.
The HVAC consultant requires a precise equipment list because freezers, incubators, analysers, computers, imaging devices, and other equipment can affect the room’s cooling requirements. The ventilation design should evaluate supply and exhaust locations, airflow direction, pressure relationships, filtration, alarms, heat gain, maintenance access, and emergency operation.
A chemical fume hood, biological safety cabinet, clean bench, and general room ventilation system serve different purposes. Biological safety cabinets have separate requirements because their selection, location, operation, and testing directly influence protection.
For effective Laboratory Fume Hood performance, avoid locating the fume hood or cabinet near doors, powerful air diffusers, heavily trafficked walkways, or other exhaust devices.
7. Choose Furniture Around the Work
A workbench is part of the laboratory system, not a decorative surface added at the end.
| Work Area | Furniture Direction |
|---|---|
| Routine wet work | Cleanable modular bench |
| Chemical handling | Compatible chemical-resistant worktop |
| Sensitive measurement | Anti-vibration support |
| Heavy instruments | Reinforced frame with verified load capacity |
| Changing workflows | Reconfigurable bench system |
| Corrosive storage | Application-specific cabinet |
| Hygiene-sensitive work | Smooth, easily cleaned surfaces |
There is no universal material for worktops. Epoxy, phenolic resin, stainless steel, polypropylene, granite, and many other materials are suitable for various types of exposure.
Provide the lab furniture manufacturer with the list of chemicals, equipment schedule, room size, cleaning procedure, and utilities layout. Without that information, even well-made furniture may be wrong for the application.
8. Freeze the Equipment Schedule before Production
For every major piece of equipment, specify the dimensions, weight, heat output, electric power requirement, UPS requirement, water, drain, gases, exhaust, network interface, vibration sensitivity, and service access. For a broader overview, see our guide to Essential Laboratory Equipment before finalising the equipment schedule.
Five Questions to Ask for Every Piece of Equipment
- Does the floor and bench have enough capacity?
- Can the room handle the heat?
- Is access to service panels available to a technician?
- Can the equipment get in and out of the building?
- Will the next generation of equipment fit without remodeling the room?
Production of furniture and utility positions should not start until such schedule is frozen.
9. Design Storage for Risk and Usage
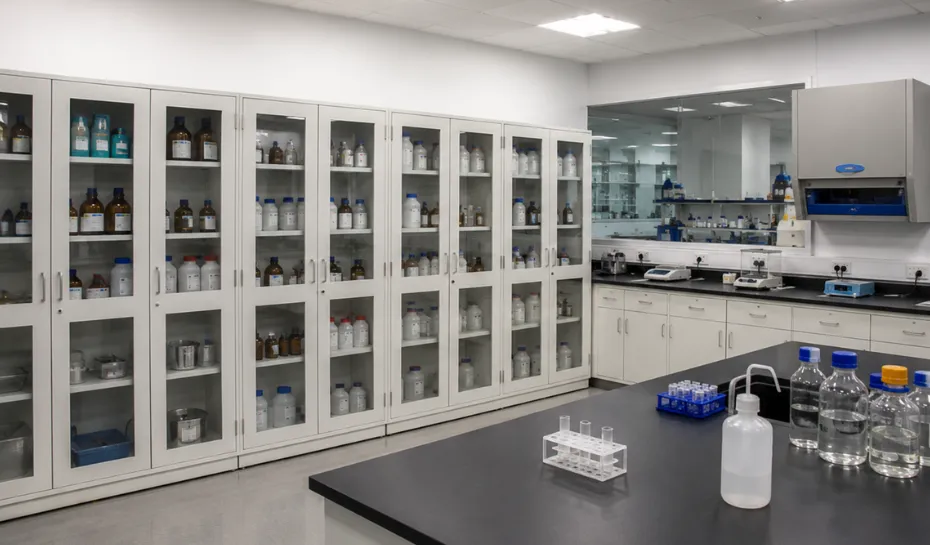
10. Integrate Waste and Emergency Route in the Design
Waste management starts at the workstation. Sharps, biological waste, chemical waste, and general waste must be segregated.
The waste route should lead to decontamination or temporary storage without going through the sample or supply area.
Decontamination, segregation, transport, and treatment are components of bio-safety planning.
Bio-Medical Waste Management Rules of India govern research laboratories producing biomedical waste.
Emergency planning includes provisions like eyewash, shower facilities, spill control kits, shutdowns, gas monitoring, oxygen monitoring, back-up power, and incident communication.
When the medical lab design is reviewed, the waste route from each hazardous workstation should be traced up to the nearest emergency facility. Design modifications will be made if there are obstacles to access like furniture, doors, or storage spaces.
11. Design for Cleaning and Maintenance
Design to eliminate small gaps that cannot be cleaned, unnecessary joints near wet work areas, and furniture that blocks access to drains or maintenance panels.
Use this test:
Is the largest piece of equipment accessible or removable without disassembling permanent furniture?
See if the cleaning personnel can clean behind benches, change a damaged work surface, access filters and valves, access the drain safely, and level furniture moved from its location.
These checks are inexpensive in the design stage and expensive later on.
12. Budget Beyond Furniture and Equipment
| Cost Area | Often Missed |
|---|---|
| Furniture | Installation and utility alignment |
| HVAC | Controls, balancing, and testing |
| Equipment | Cooling, UPS, and service contracts |
| Cold storage | Alarms and backup capacity |
| IT | Secure networks and data backup |
| Safety | Testing, training, and replacement items |
| Commissioning | Specialist testing and documentation |
However, an affordable initial cost may mean more costly modifications when there is conflict among utilities, inadequate storage, or when the furniture does not fit.
Adequate contingency should be allowed for, but avoid oversised rooms just in case. Flexibility is more valuable than paying to use empty space.
13. Commissioning Before Research Begins
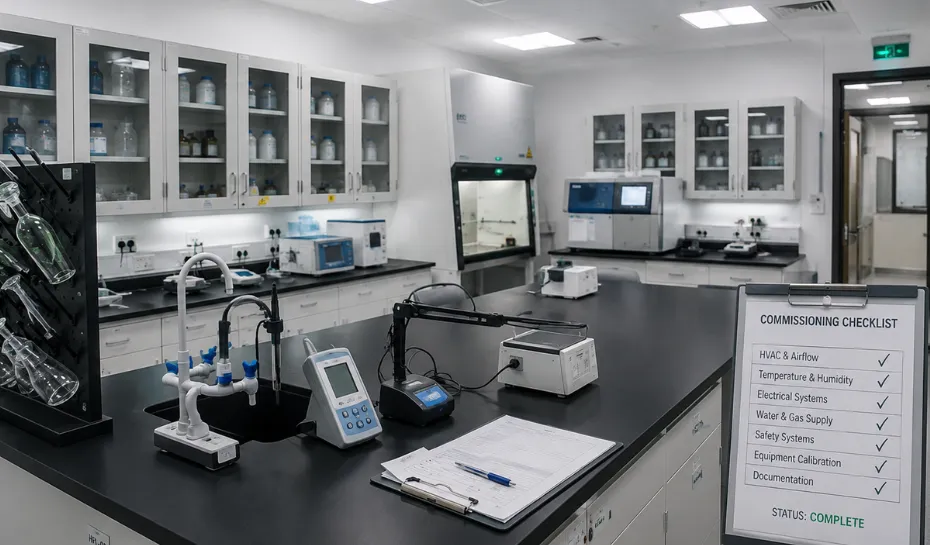
Just because a room is ready, doesn’t mean it’s ready for work.
The process of commissioning could involve HVAC balancing, pressurisation tests, alarm system tests, electrical/electronic and emergency power tests, gas-leak tests, containment device tests, temperature mapping, drainage tests, access control tests, and furniture testing.
As defined by ICMR, commissioning involves testing and documenting critical systems before the facility becomes operational based on the design.
Commissioning should not be compressed due to delays in the construction phase, as fixing errors once occupants and samples have been moved in will take longer and be riskier.
Common Medical Laboratory Design Mistakes
| Mistake | Practical Consequence |
|---|---|
| Furniture ordered before equipment review | Utility and clearance conflicts |
| Waste and clean routes cross | Higher contamination risk |
| One worktop material used everywhere | Early surface damage |
| Heat output is underestimated | Unstable room conditions |
| Services are hidden behind fixed units | Disruptive maintenance |
| Storage is based on guesswork | Benches become overflow space |
| Emergency power is overlooked | Sample and data loss |
| Commissioning is rushed | Problems appear during live work |
| Workflow is planned after room layout | Inefficient movement and workflow conflicts |
| Fume hoods or cabinets are poorly positioned | Airflow interference and reduced containment performance |
| Future equipment requirements are ignored | Expensive remodelling when equipment changes |
| Cleaning and maintenance access is overlooked | Difficult cleaning and longer maintenance downtime |
Final List for Medical Lab Design
Make sure that:
- The nature of research and potential dangers are identified.
- Routes of samples, employees, materials, and waste are outlined.
- Rooms are isolated if needed by the process itself.
- Containment is appropriate to the danger.
- The HVAC design takes into account heat production by the equipment and its maintenance.
- Equipment schedule is compiled.
- Furniture and benches are consistent with loads and exposure to hazardous substances.
- Storage is designed according to volume and compatibility.
- The emergency and waste disposal routes stay unobstructed.
Conclusion
A successful medical research laboratory design starts with the research, risks, workflow, equipment, and safety requirements—not with furniture. From space planning and containment to HVAC, equipment, storage, waste management, maintenance, and commissioning, every element should work together to create a safe, efficient, and adaptable laboratory.
Selecting the right laboratory workbenches, Laboratory Fume Hoods, lab storage cabinets, and other laboratory furniture is equally important because these systems must match the laboratory’s processes, equipment, chemical exposure, load requirements, and future needs. Working with experienced lab furniture manufacturers can help coordinate furniture, utilities, storage, and workflow as part of the overall laboratory plan.
Santech Labs provides customised laboratory furniture solutions designed around specific research requirements and laboratory workflows. With the right planning and expert support, your medical research laboratory can be designed to perform efficiently today while remaining flexible for future research and expansion.